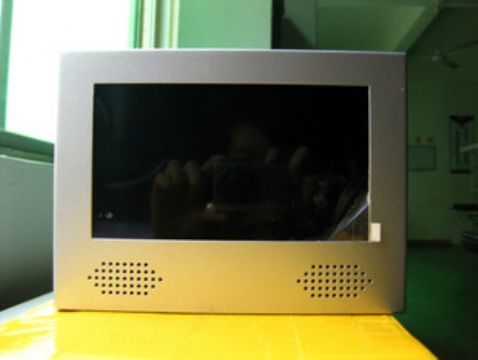
Model: lxwA-A1
Signage7 inch1, the product description:
★ Shell: aluminum alloy
★ panel: acrylic, tempered glass
★ Color: customer request
★ broadcast media: C F, SD, MMC, SM, MS card
★ Display:: 7 "TFT LCD, Aspect Ratio: 4:3
★ using a variety of memory cards as a program source, playback high reliability, convenient and quick content updates
★ High brightness, wide viewing angle, image quality close to DVD quality, suitable for high-end products require users to show
★ variety of installation, not attaching the structural damage
★ full-function remote control, confidentiality, good
★ has a program playback, you can timer switch machines, all year round without officers to maintain the
2, the product parameters:
Player format: support MPEG1, MPEG2, MPEG4, JPEG, MP3, VCD, DVD and other format, the file is stored
Play features: Full digital auto playback, loop playback or editing by other players, no mechanical wear
Audio output: stereo L / R, 2W * 2,8 Ω
Video output: AV / VGA (custom function)
Power Supply :110-240V AC, 50/60Hz
3, display parameters:
Display Size: 7 "TFT-LCD
Resolution: 640 * 480
Screen Aspect Ratio: 4:3
Color: 16.7M
Brightness: 450cd/m2 max
Perspective: the upper and lower 120 ° / of about 120 °
Contrast Ratio: 350:1 typ
Operating Temperature: -10 ℃ ~ 50 ℃
Storage temperature: -20 ℃ ~ 60 ℃
4, the product parts list:
Backplane, bracket (optional one)
Manual
Warranty Card
Key 2
Remote
CF, SD card (customer demand Shopping Service)
5, the installation instructions:
Step 1: Install Signage backplane
Installation of the advertising machine back There are two main methods:
Method 1: The expansion bolt fixed to the wall will be installed back in the lock to open the case of the first ads for installation into the installation back on a hanging hook corresponding to the hook hole, to ensure that the level of advertising machine, the installation backplane should seek to level.
Method 2: In the walls are not allowed to fight the case bolt can be the case of a wall to keep a clean first double-sided adhesive tape on the back and then affixed to the back wall, and then hit in the center square and the four sides of glass, plastic fixed, is fixed to ensure the installation of backplane level.
Waiting for the glass glue fully cured before the next installation steps;
Step 2: Connect the power cord
Backplane power cord from the back after fixation of the opening introduction (this method must be buried in the wall slot power line); also available from the backplane on all sides of the hole at the top of the introduction (this method is adapted to place the wall can not be slotted) .
